Creating Partners
Add new clients and suppliers to your Delfis account to start creating invoices, quotes, and bills.
Starting the Process
- Navigate to Partners from the sidebar
- Click the Add Partner button in the top right
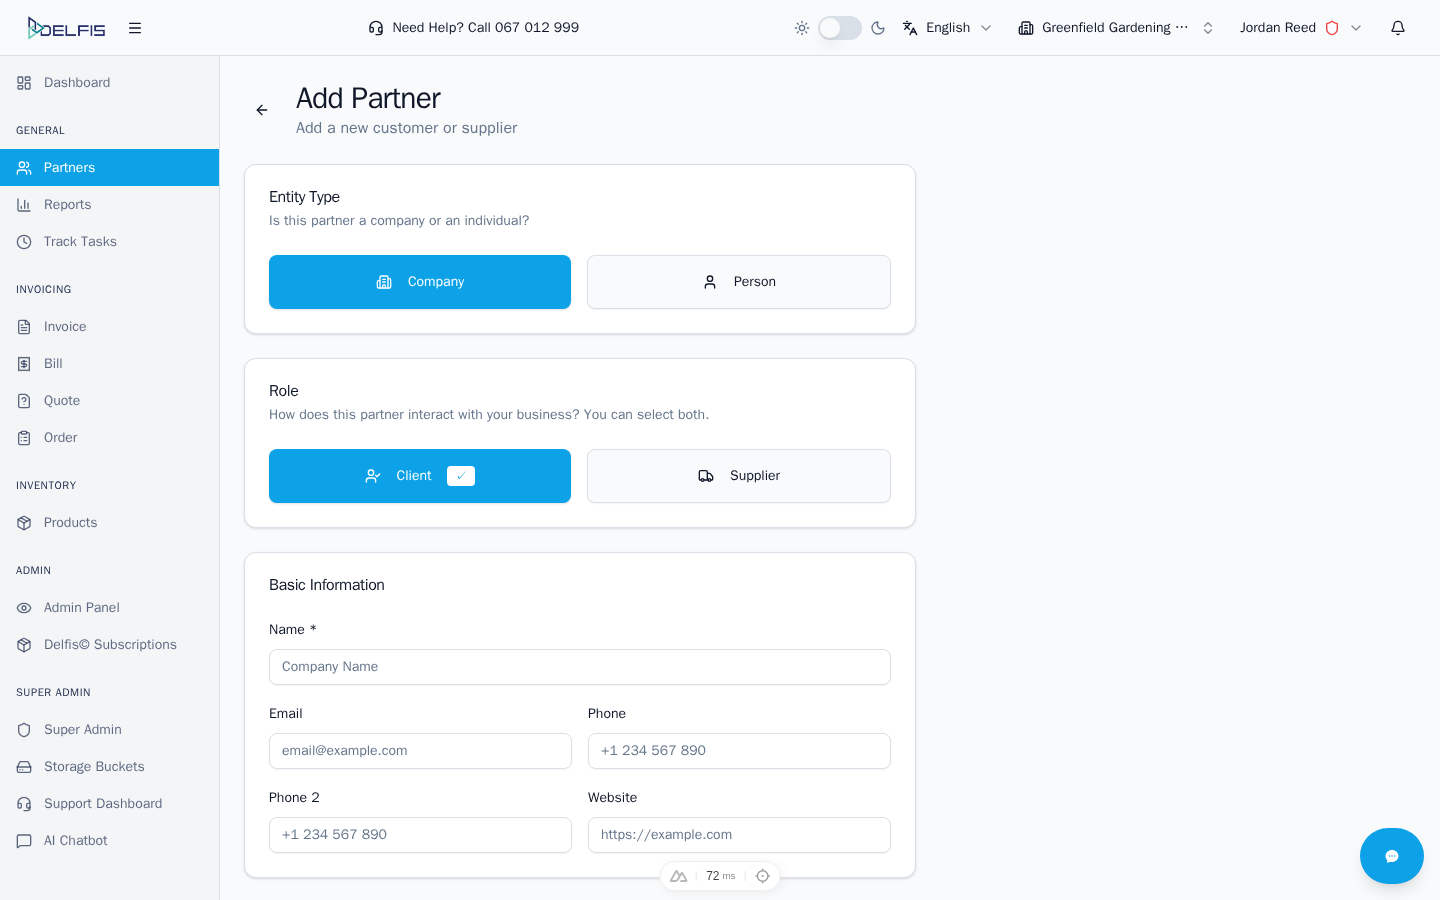
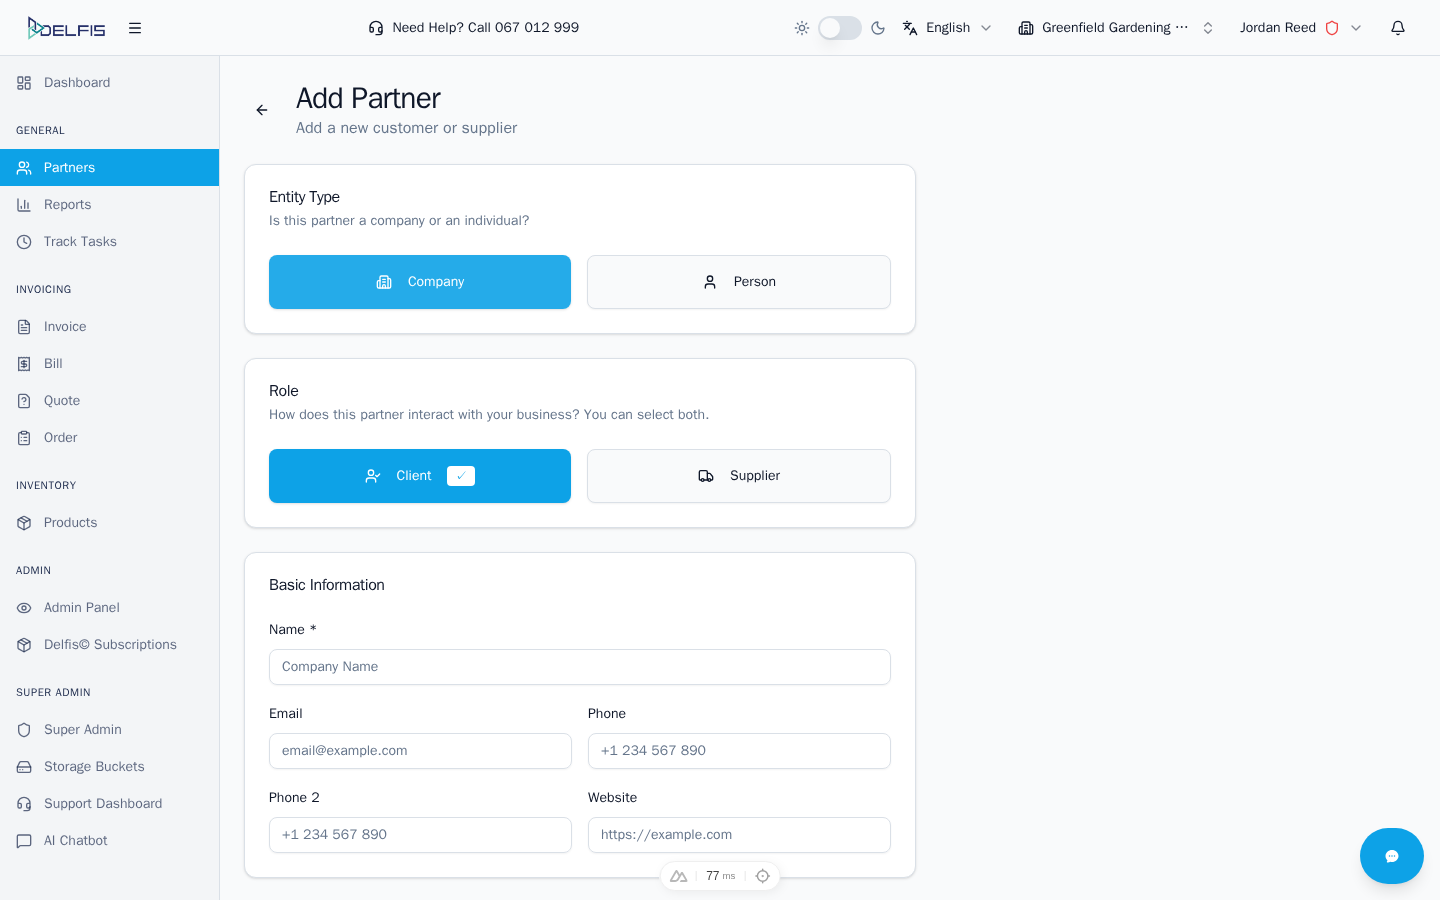
Step 1: Choose Entity Type
Select whether the partner is a Company or a Person.
Company
Choose Company for:
- Registered businesses
- Organizations
- Entities with tax registration
Company partners show additional fields for tax information (TIN, VAT, EIN).
Person
Choose Person for:
- Individual contacts
- Freelancers without business registration
- Personal clients
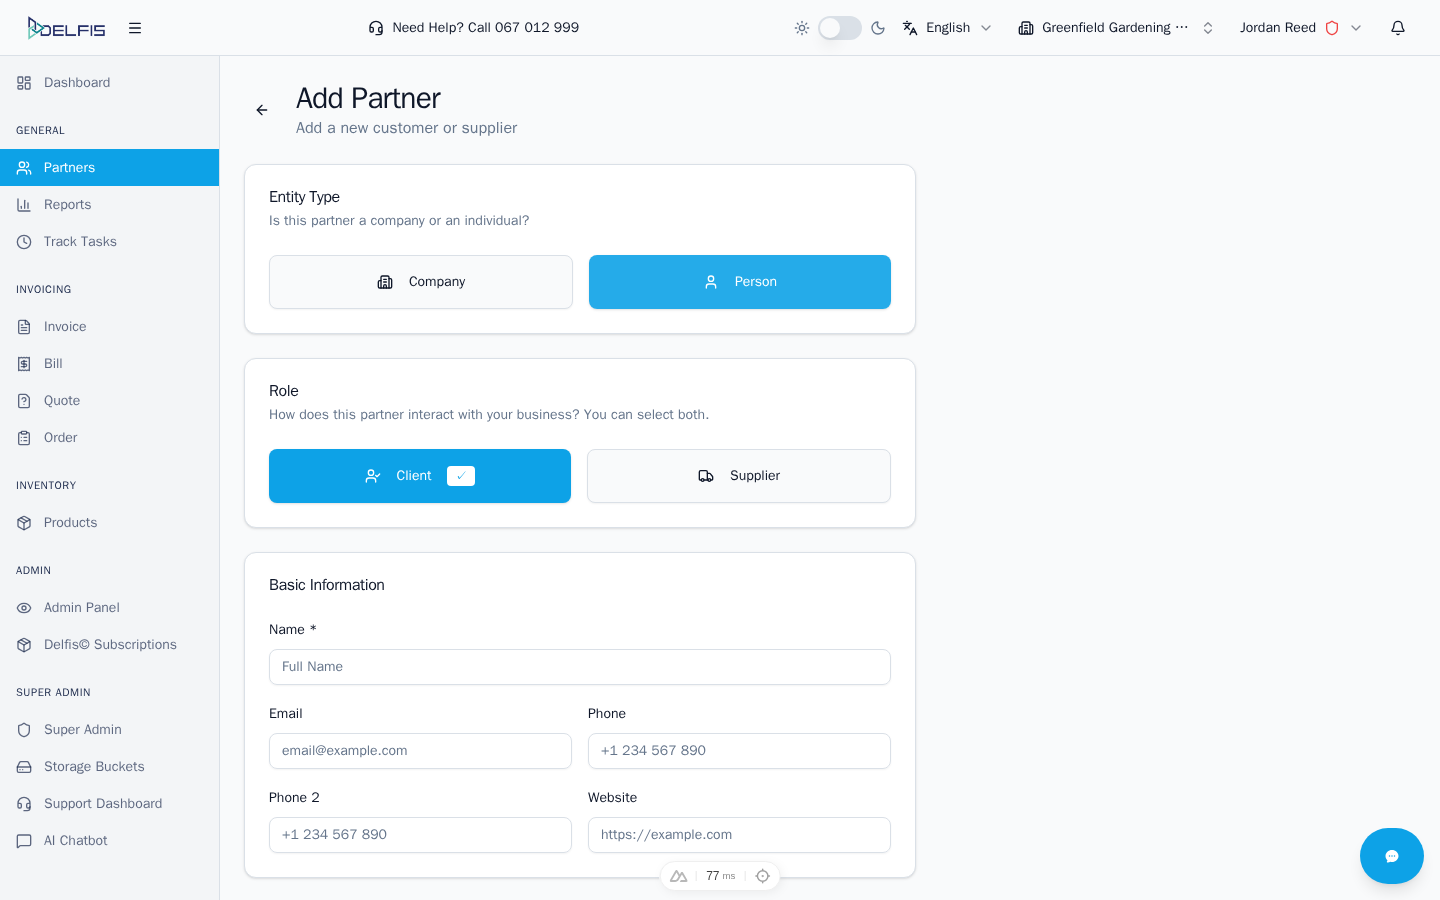
Person partners have simplified information requirements.
Step 2: Set Partner Role
Define your business relationship with this partner:
Client
Toggle Client on if you sell goods or services to this partner. They will appear when creating:
- Invoices
- Quotes
- Sales documents
Supplier
Toggle Supplier on if you purchase from this partner. They will appear when creating:
- Bills
- Purchase orders
- Expense documents
Note: You can enable both roles if you both buy from and sell to this partner.
Warning: At least one role should be selected, otherwise the partner will not appear in document creation.
Step 3: Enter Basic Information
Fill in the essential contact details:
| Field | Required | Description |
|---|---|---|
| Name | Yes | Company name or person's full name |
| No | Primary contact email | |
| Phone | No | Primary phone number |
Step 4: Add Tax Information (Companies Only)
For company partners, enter registration details:
| Field | Description |
|---|---|
| TIN | Tax Identification Number |
| VAT | VAT registration number |
This information appears on invoices and is required for fiscal compliance in some regions.
Step 5: Enter Address
Provide the partner's location details:
| Field | Description |
|---|---|
| Street Address | Primary address line |
| City | City name |
| Postal Code | ZIP or postal code |
| Country | Select from the dropdown |
The address appears on invoices and documents created for this partner.
Saving the Partner
After filling in the required information:
- Review all entered data
- Click Save to create the partner
- You'll be redirected to the new partner's detail page
Or click Cancel to discard changes and return to the partners list.
After Creation
Once created, your partner is ready to use:
- Select them when creating invoices
- Choose them for quotes and bills
- Add additional information like bank accounts and custom fields
Validation
If any required fields are missing or invalid, you'll see error messages:
- Name is required - Enter a partner name
- Invalid email - Check the email format
Fix any errors and try saving again.
Tips for Creating Partners
Naming Convention
Use consistent naming for easy searching:
- "Company Name d.o.o." for companies
- "First Last" for individuals
Complete Information
Fill in all available fields now to save time when creating documents later.
Set Default Discount
If you always give this partner the same discount, set it during creation.
Next Steps
- Partner Details - Add bank accounts and custom fields
- Managing Partners - Organize your partner list
- Creating Invoices - Create your first invoice